Quick Overview
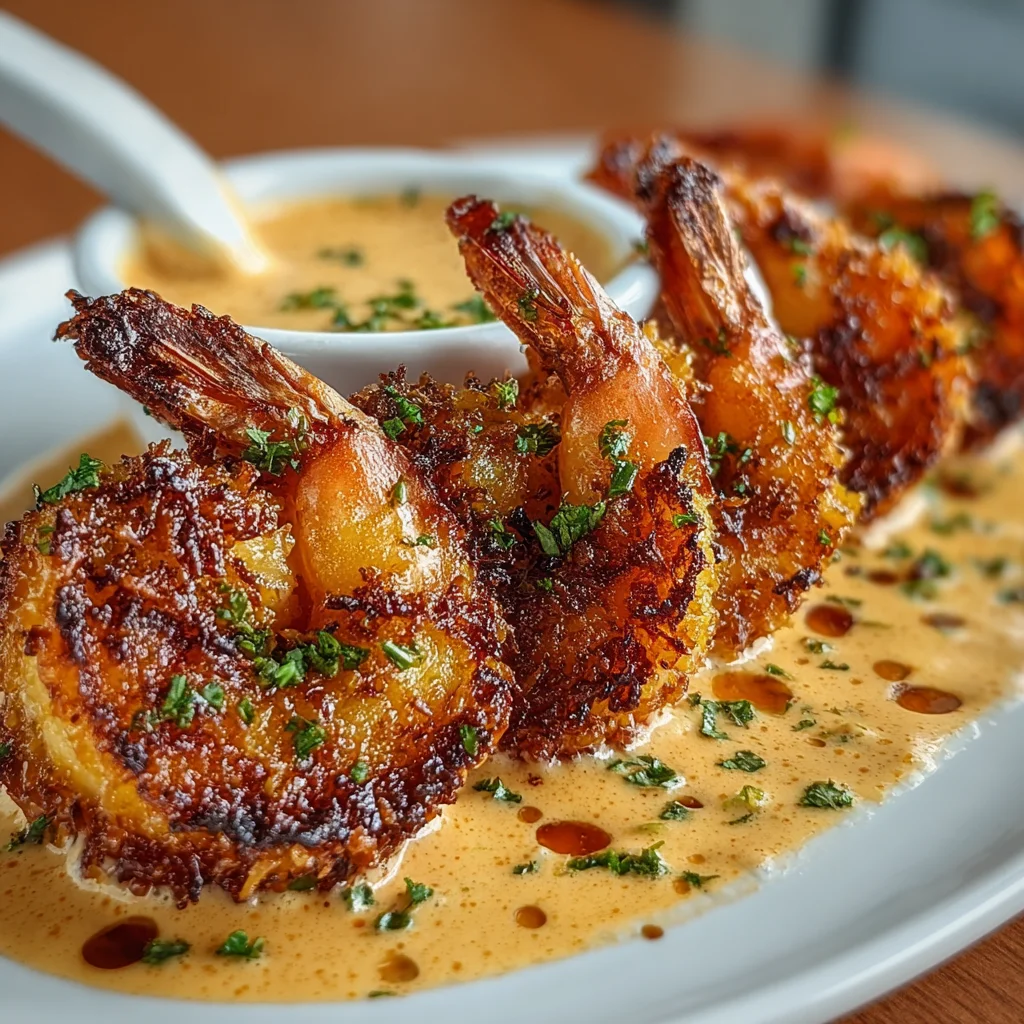
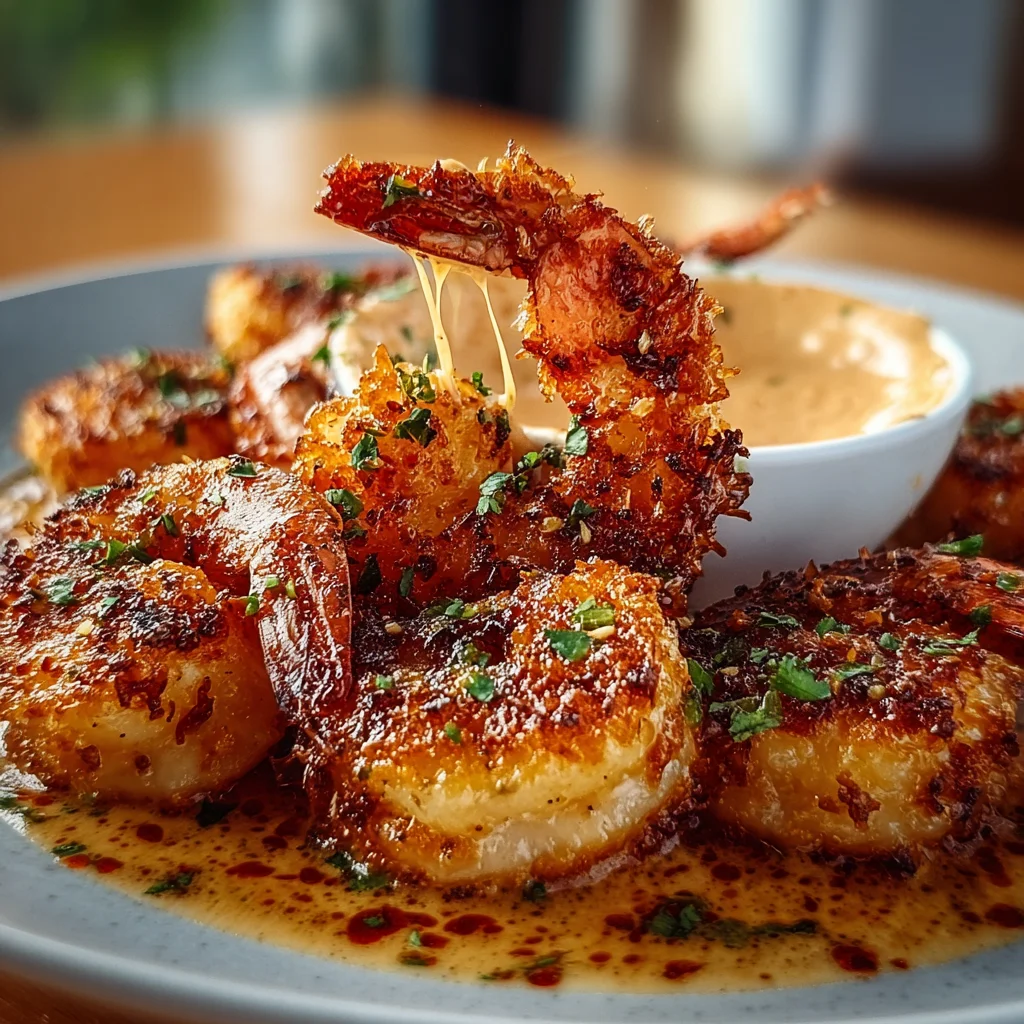
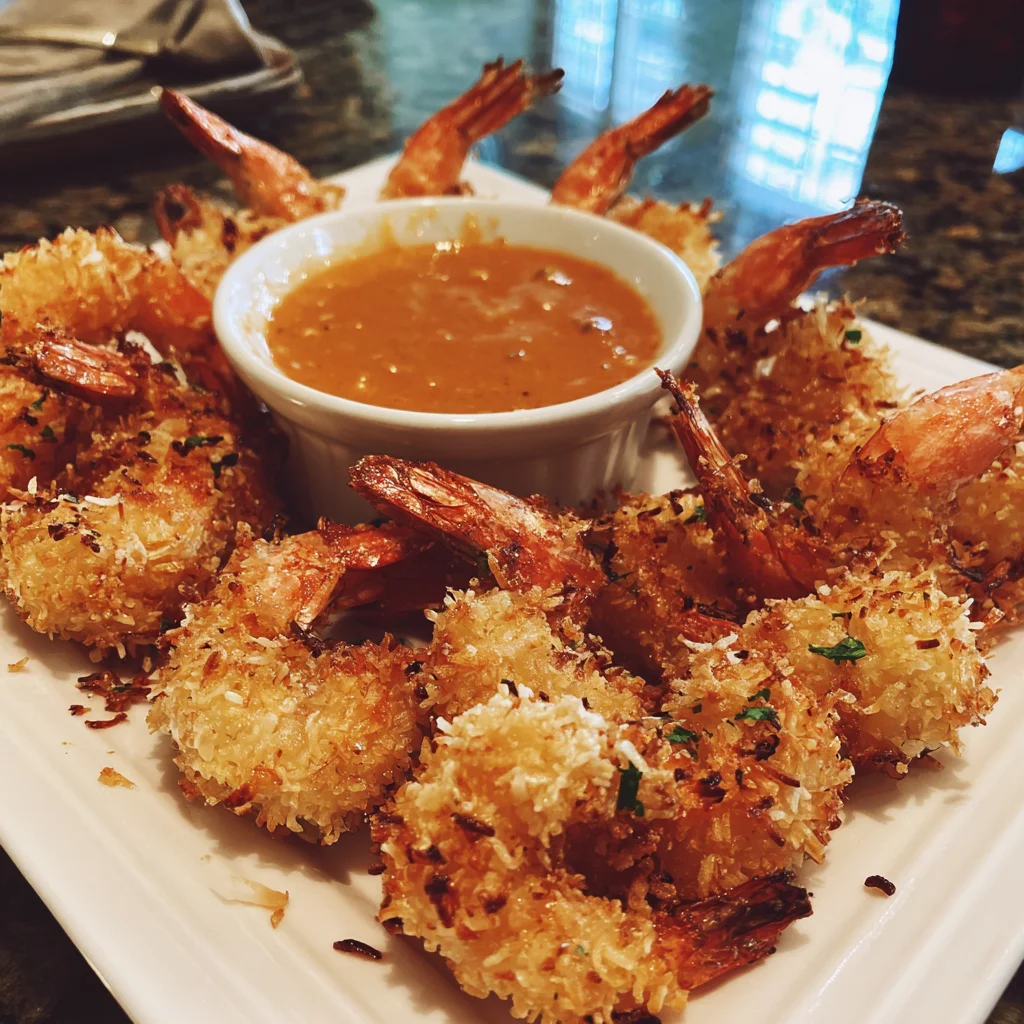
If you’re looking for a delightful appetizer that combines crispy texture and tropical flavors, this recipe for Baked Coconut Shrimp with Sweet Chili Mayo is your answer. These shrimp are coated in a crunchy coconut layer and baked to perfection, making them a healthier alternative to fried versions. The accompanying sweet chili mayo adds a zesty kick that pairs beautifully with the natural sweetness of the coconut. Whether you serve them at a party or enjoy them as a snack, these baked coconut shrimp will impress everyone.
Ingredient Breakdown
Shrimp
For this recipe, you will need 1 pound of large raw shrimp, peeled and deveined. Make sure to select fresh or thawed shrimp for the best flavor. Using large shrimp ensures they stay juicy and tender while baking.
Shredded Coconut
Use 1 cup of unsweetened shredded coconut. Unsweetened coconut offers the perfect balance of flavor without added sugars. It provides that signature tropical taste that complements the shrimp.
Panko Breadcrumbs
You will need 1 cup of panko breadcrumbs. These Japanese-style breadcrumbs create an extra crunchiness when baked. They help achieve a crispy exterior without frying.
Eggs
Two large eggs are needed for binding the coating together. The egg wash helps the coconut and breadcrumbs adhere tightly to the shrimp while baking.
All-Purpose Flour
Use ½ cup of all-purpose flour for dredging the shrimp before coating them. This step ensures better adhesion of the egg and breadcrumb mixture.
Salt and Pepper
Season with salt and pepper to taste. This simple seasoning elevates the overall flavor profile of the dish without overpowering it.
Sweet Chili Sauce
Prepare ½ cup of sweet chili sauce for dipping. This sauce adds sweetness and heat, enhancing the overall experience when paired with the crunchy shrimp.
Step By Step Recipe: Baked Coconut Shrimp with Sweet Chili Mayo
Preheat Your Oven
Begin by preheating your oven to 400°F (200°C). Preheating ensures that your baked coconut shrimp cook evenly and develop a crispy texture on the outside while remaining juicy inside.
Prepare Baking Sheet
Line a baking sheet with parchment paper or lightly grease it to prevent sticking. This will allow your shrimp to bake evenly without burning on the bottom while ensuring easy cleanup afterward.
Set Up Dredging Station
Create a dredging station by placing flour in one bowl, beaten eggs in another bowl, and mixing panko breadcrumbs with shredded coconut in a third bowl. This setup allows you to coat each shrimp efficiently as you move through each step.
Dredge Shrimp in Flour
Take each peeled and deveined shrimp and gently coat it in flour. Shake off any excess flour before proceeding to dip it into the beaten eggs. This step helps create an even coating that adheres better during baking.
Dip in Egg Wash
After dusting with flour, dip each shrimp into the egg wash until well-coated but not dripping wet. The egg wash acts as glue for holding onto both the panko-coconut mixture later on, giving your shrimp that desired crunch.
Coat with Coconut Mixture
Next, place each egg-dipped shrimp into the panko-coconut mixture. Press gently so that all sides are evenly covered with the crunchy coating before placing them on the prepared baking sheet.
Bake Until Golden Brown
Bake your coated shrimp in the preheated oven for about 15-20 minutes or until they turn golden brown and crispy. Keep an eye on them towards the end of cooking time; you want them perfectly crisp without burning.
Prepare Sweet Chili Mayo
While your shrimp are baking, make a quick sweet chili mayo by mixing together half a cup of mayonnaise and half a cup of sweet chili sauce in a small bowl until smooth. Adjust seasoning as desired for extra flavor if needed.
Serve Immediately
Once your baked coconut shrimp are done cooking, remove them from the oven and let them cool slightly before serving alongside your homemade sweet chili mayo as dipping sauce. Enjoy!

Serving and Storing Tips
Serving Suggestions
Serve your Baked Coconut Shrimp warm right out of the oven alongside bowls of sweet chili mayo for dipping. They make great appetizers at parties or can be served over salads for light meals.
Storing Leftovers
Store any leftover baked coconut shrimp in an airtight container in the refrigerator for up to two days. To maintain their crispness when reheating, use an oven rather than a microwave.
Reheating Instructions
To reheat leftovers effectively, place them back on a baking sheet at 350°F (175°C) for about 10 minutes until heated through and crispy again. Avoid microwaving as this can lead to soggy results.
Freezing Option
If you want to prepare ahead of time, freeze uncooked coated shrimps on a baking tray before transferring them into zip-top bags once frozen solid. Bake directly from frozen when ready to enjoy!
Mistakes to avoid
When preparing Baked Coconut Shrimp with Sweet Chili Mayo, avoiding common mistakes can make a big difference. One major mistake is not drying the shrimp properly before coating them. Excess moisture can prevent the coating from adhering well and lead to soggy results. Ensure you pat the shrimp dry with paper towels for the best texture.
Another common error is using stale breadcrumbs. Fresh, crispy breadcrumbs provide a better crunch and flavor. Always check the expiration date on your breadcrumbs or consider making your own for optimal results.
Overcrowding the baking sheet is another mistake to avoid. If you place too many shrimp on one tray, they won’t bake evenly and may steam instead of crisping up. Leave enough space between each shrimp to allow for proper air circulation.
Improper seasoning is also a frequent oversight. Make sure to season both the shrimp and the breadcrumb mixture adequately. This ensures that every bite is flavorful and delicious. Don’t skip this step—well-seasoned shrimp make all the difference.
Lastly, cooking at too low a temperature can result in undercooked shrimp. Preheat your oven properly and maintain a temperature of at least 400°F (200°C) for that perfect golden color and texture when baking.
Tips and tricks
To achieve perfect Baked Coconut Shrimp with Sweet Chili Mayo, start with high-quality ingredients. Fresh shrimp will yield better flavor than frozen ones, so opt for wild-caught if possible. When selecting shrimp, look for those that are firm and have a slight ocean scent.
When it comes to coating your shrimp, consider using three bowls: one for flour, one for egg wash, and one for your breadcrumb mixture combined with shredded coconut. This method allows for an even coating and keeps your hands clean while preventing clumping.
For added flavor in your sweet chili mayo sauce, mix in some lime juice or zest to brighten up the dish. A little garlic powder can also elevate the taste profile of your dipping sauce significantly.
If you want extra crunch in your baked coconut shrimp, try adding crushed cornflakes or panko breadcrumbs to your coconut mixture. This variation introduces additional texture while still keeping it light compared to frying.
Finally, serve these delightful shrimp immediately after baking for the best experience. They are crispiest when served warm straight from the oven alongside your sweet chili mayo.
Suggestions for Baked Coconut Shrimp with Sweet Chili Mayo
For a side dish that complements Baked Coconut Shrimp with Sweet Chili Mayo perfectly, consider serving a fresh mango salsa. The sweetness of mango paired with cilantro and lime juice offers a refreshing contrast to the crispy shrimp.
Alternatively, pair these delicious bites with a simple mixed greens salad dressed in a light vinaigrette. The freshness of greens balances out the richness of the coconut while enhancing flavors in each bite.
For those looking to vary their dipping options, try serving these shrimp with a spicy aioli or tangy pineapple salsa as an alternative to sweet chili mayo. These options add depth and different flavor profiles worth exploring.
Lastly, if you’re hosting a gathering, consider turning this dish into an appetizer platter by including various dipping sauces like mustard or even a creamy avocado dip alongside your baked coconut shrimp for variety.
FAQs
What type of shrimp should I use for Baked Coconut Shrimp?
When making Baked Coconut Shrimp with Sweet Chili Mayo, choose large or jumbo-sized shrimp for best results. Larger shrimp provide more meatiness and hold up well during baking, ensuring they remain juicy inside while achieving crispiness outside.
Can I make Baked Coconut Shrimp ahead of time?
You can prepare Baked Coconut Shrimp ahead by coating them earlier in the day and storing them in the fridge until you’re ready to bake them. For optimal freshness, it’s best to bake them just before serving so they stay crunchy.
What can I substitute for sweet chili sauce?
If you don’t have sweet chili sauce on hand for your mayo dip, you can easily make a substitute by mixing equal parts sriracha sauce and honey or agave syrup. This combination offers sweetness balanced by heat similar to traditional sweet chili sauce.
How do I store leftovers?
Store any leftover Baked Coconut Shrimp in an airtight container in the refrigerator for up to two days. For best results reheating them in an oven or toaster oven will help maintain their crispiness compared to microwaving directly.
Can I freeze Baked Coconut Shrimp?
Yes! You can freeze uncooked coated shrimp before baking them. Place them on a baking sheet lined with parchment paper until frozen solid; then transfer them into freezer bags. Bake from frozen when ready without thawing.
What dishes pair well with this recipe?
Baked Coconut Shrimp pairs well with tropical-inspired dishes such as cilantro-lime rice or grilled vegetables like zucchini and bell peppers that enhance its flavors beautifully while providing balance on your plate.
Summary
In summary, mastering Baked Coconut Shrimp with Sweet Chili Mayo involves avoiding common mistakes such as overcrowding or insufficient seasoning while utilizing quality ingredients effectively enhances flavor profiles significantly. Be sure also to explore complementary sides like fresh salsa or salads that elevate this dish’s appeal further when dining! Enjoy this delightful recipe straight from your oven!