Quick Overview
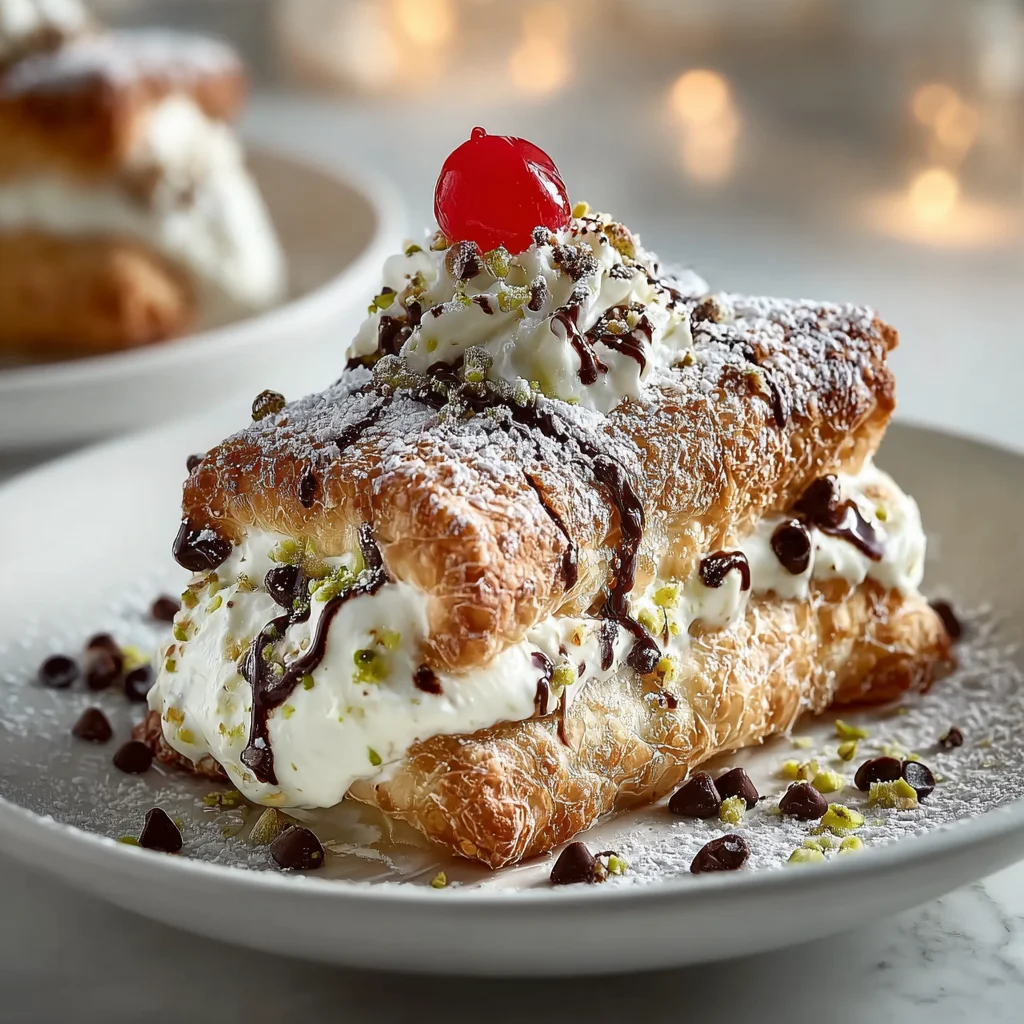
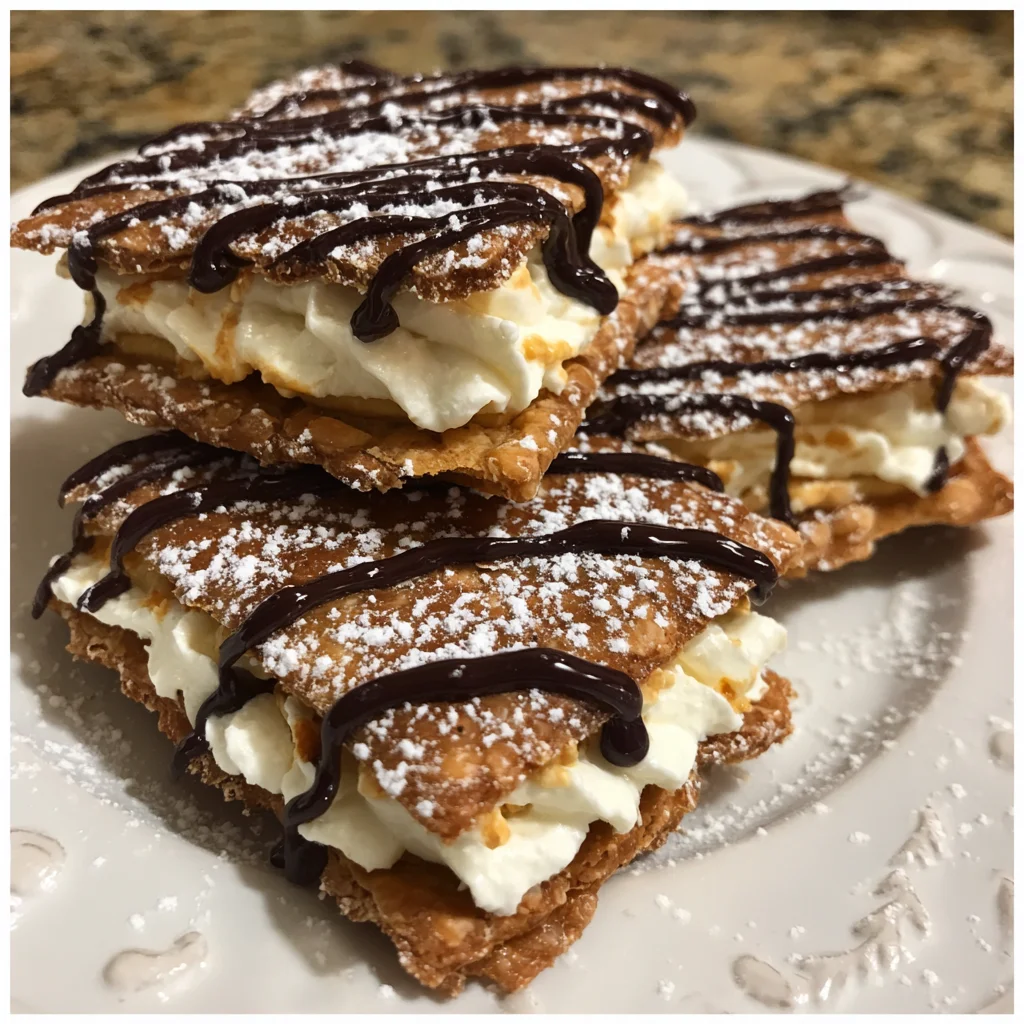
Are you ready to indulge in a delightful dessert that combines all the flavors of classic cannoli in an easy-to-make bar form? These Classic Cannoli Squares are the perfect solution for those who love the rich taste of traditional cannoli but want a simpler approach. With creamy filling and a crispy base, these squares deliver that authentic flavor without the hassle of frying. In no time at all, you can serve up this crowd-pleaser at your next gathering or simply enjoy it as a sweet treat after dinner.
Ingredient Breakdown
H4 Sugar
Sugar adds sweetness to the filling and balances the flavors in the cannoli squares. For this recipe, use 1 cup of granulated sugar. It complements the ricotta cheese perfectly and adds that classic dessert taste.
H4 Ricotta Cheese
Ricotta cheese is essential for achieving that creamy texture in classic cannoli squares. You’ll need 15 ounces of whole milk ricotta cheese. It should be well-drained to prevent excess moisture from affecting the texture of your dessert.
H4 Mascarpone Cheese
Mascarpone cheese enhances the richness of your filling with its smooth and creamy consistency. Use 8 ounces of mascarpone cheese for this recipe. This ingredient contributes to a delightful mouthfeel that pairs beautifully with the other flavors.
H4 Vanilla Extract
Vanilla extract is vital for adding depth and warmth to your filling. You’ll need 2 teaspoons for this recipe. It enhances all the other ingredients and brings out their natural sweetness.
H4 Mini Chocolate Chips
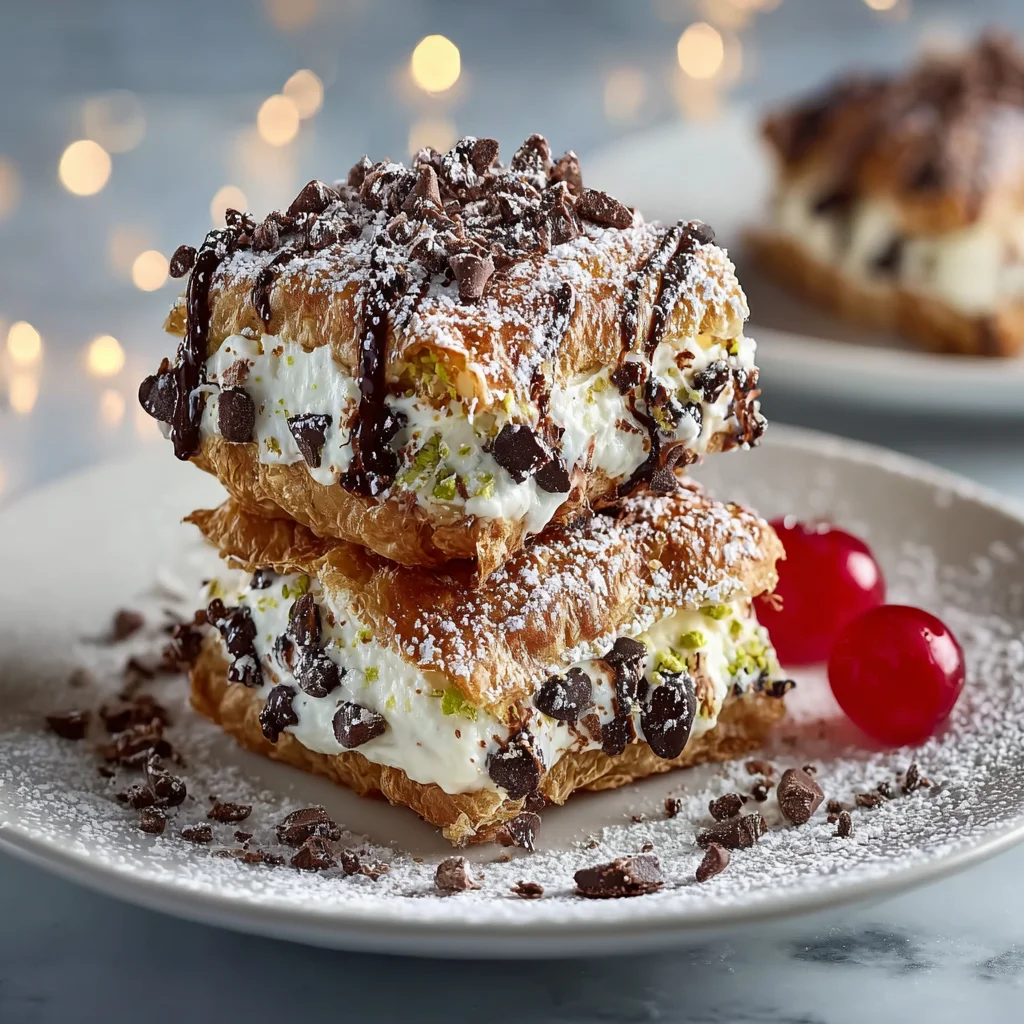
Mini chocolate chips are an optional yet delightful addition that adds sweetness and texture to your cannoli squares. Use 1 cup of mini chocolate chips if desired; they create little bursts of chocolate flavor in every bite!
H4 Graham Cracker Crumbs
Graham cracker crumbs serve as a tasty base for your squares. For this recipe, you’ll need 2 cups of graham cracker crumbs mixed with melted butter. This combination creates a crunchy layer that contrasts well with the creamy filling.
H4 Unsalted Butter
Unsalted butter binds together your graham cracker crust and provides richness. Use ½ cup (1 stick) of unsalted butter, melted. This will help achieve that perfect crumbly yet cohesive crust.

Step By step Recipe: Classic Cannoli Squares
H4 Prepare Your Pan
Start by preheating your oven to 350°F (175°C). Grease a 9×13-inch baking pan with non-stick spray or line it with parchment paper for easy removal later on. This ensures that your cannoli squares won’t stick and makes serving them much simpler.
H4 Make The Crust
In a mixing bowl, combine 2 cups of graham cracker crumbs with ½ cup of melted unsalted butter and ¼ cup of sugar until fully mixed. Press this mixture firmly into the bottom of your prepared baking pan using your fingers or a flat-bottomed measuring cup. Bake in the preheated oven for about 10 minutes until lightly golden brown.
H4 Prepare The Filling
In another bowl, blend together 15 ounces of well-drained ricotta cheese, 8 ounces of mascarpone cheese, 1 cup of granulated sugar, and 2 teaspoons of vanilla extract using an electric mixer on medium speed until smooth and creamy. Make sure there are no lumps remaining in the mixture to ensure a silky texture.
H4 Fold In Chocolate Chips
Gently fold in 1 cup of mini chocolate chips into your creamy filling using a spatula or wooden spoon. Mix carefully so as not to break the chips while ensuring they’re evenly distributed throughout the filling mixture.
H4 Assemble The Layers
Spread the creamy filling evenly over the cooled crust in your baking pan after it has cooled slightly from baking. Smooth out the top using an offset spatula or back of a spoon to ensure even distribution across each corner.
H4 Chill The Dessert
Cover your baking dish with plastic wrap or aluminum foil and refrigerate for at least four hours or overnight if possible. Chilling allows flavors to meld properly while giving structure to your squares when cut later on.
H4 Cut Into Squares
Once chilled, remove from refrigerator and carefully lift out from the pan using parchment paper if lined; otherwise use a sharp knife around edges before lifting out gently by hand if greased only! Cut into equal squares based on preference—usually about two inches works well!
Serving and Storing Tips
H4 Serve Chilled
For best results, serve these Classic Cannoli Squares chilled directly from the refrigerator! Garnish each square with additional mini chocolate chips or a dusting of powdered sugar if desired; presentation matters just as much as taste!
H4 Store Properly
To store leftovers (if any), place them in an airtight container in the refrigerator where they will last up to five days maximum! If you plan on storing longer than this period consider freezing instead; wrap individual pieces tightly in plastic wrap followed by foil before placing them inside freezer-safe bags!
H4 Thaw Before Serving
If frozen, allow them enough time—about two hours—to thaw completely before serving again so they regain their original texture without compromising flavor after being frozen; just remember never refreeze after thawing!
Mistakes to avoid
When making Classic Cannoli Squares, it’s essential to be aware of common mistakes that can affect the outcome.
One frequent error is using low-quality ricotta cheese. Opt for whole-milk ricotta for a creamy and rich filling. Avoid brands that are overly watery, as this will lead to a soggy dessert. Drain the cheese in advance if necessary to achieve the right texture.
Another mistake is not chilling your squares long enough after assembling. Allowing them to rest in the refrigerator for at least two hours helps the flavors meld and ensures a better presentation. Rushing this step can lead to a messy serving.
Overbaking the crust is another pitfall. A golden-brown color indicates perfect baking, while a dark crust can taste bitter and dry out the dessert. Keep an eye on your oven timer and check your squares frequently toward the end of baking.
Lastly, neglecting to sift the powdered sugar can create clumps in your filling. Clumps are unappealing and make it difficult for the mixture to blend smoothly with other ingredients. Always sift before incorporating.
Tips and tricks
Creating delicious Classic Cannoli Squares requires attention to detail and a few handy tips to enhance the final product.
First, consider adding citrus zest—lemon or orange—to your filling mixture. This addition brightens up the flavor profile and balances the sweetness beautifully. It also adds a refreshing aromatic element that complements traditional cannoli flavors perfectly.
Using high-quality chocolate chips is another way to elevate your dessert. Semi-sweet chocolate chips melt wonderfully in contrast with the creamy filling, providing bursts of flavor in each bite. Alternatively, consider using mini chips or even finely chopped dark chocolate for a different depth of flavor.
Don’t forget about presentation! Dusting powdered sugar on top just before serving gives your Classic Cannoli Squares an elegant finish. You can also garnish with crushed pistachios or additional chocolate shavings for added visual appeal.
Lastly, if you want to prepare these squares ahead of time, assemble everything except for the filling. Store the baked crust separately from the filling and combine them shortly before serving for optimal freshness.
Suggestions for Classic Cannoli Squares
To make your Classic Cannoli Squares even more enjoyable, consider these suggestions when preparing them.
Try adding different flavor variations into your filling mixture, such as vanilla extract or almond extract, for a unique twist on tradition. These extracts can add depth without overpowering the classic cannoli taste, appealing to varied palates.
Additionally, experiment with various toppings like whipped cream or fresh fruit garnishes when serving your dessert. Berries pair nicely with cannoli flavors and introduce both color and freshness that balances sweetness well.
For those who love an extra crunch, serve your squares alongside crushed nuts such as pistachios or almonds sprinkled over each piece. This not only adds texture but also enhances overall flavor complexity.
Finally, consider pairing these squares with coffee or dessert wine when serving at gatherings; their creamy richness complements these beverages beautifully.

FAQs
What are Classic Cannoli Squares?
Classic Cannoli Squares are a delightful twist on traditional Italian cannoli pastries. They consist of layers of sweetened ricotta cheese mixed with chocolate chips layered between a buttery crust. The dessert offers all the classic flavors in an easy-to-serve square form.
Can I make Classic Cannoli Squares ahead of time?
Yes, you can prepare Classic Cannoli Squares ahead of time! Bake the crust and store it separately from the filling in an airtight container in the fridge for up to 24 hours before serving. Assemble just before you plan to enjoy them for best results.
What is the best way to store leftover Classic Cannoli Squares?
Store leftover Classic Cannoli Squares in an airtight container in the refrigerator for up to three days. To maintain their texture, separate layers with parchment paper if needed. Avoid freezing as this may alter their consistency negatively.
Can I use different types of cheese in my filling?
While ricotta cheese is traditional for Classic Cannoli Squares, you can experiment by mixing mascarpone or cream cheese into your ricotta for added richness and creaminess. Just ensure that any substitutions keep similar textures and flavors intact.
How do I know when my crust is done baking?
Your crust is done when it turns a light golden brown color around the edges but remains slightly softer in center sections since it will continue cooking as it cools down outside of the oven—avoid allowing it to become too dark.
Can I adjust the level of sweetness in my filling?
Absolutely! You can adjust sweetness levels by reducing or increasing powdered sugar as desired within your Classic Cannoli Square’s filling mixture; just remember that balancing flavors is key—taste as you go!
Summary
In conclusion, making Classic Cannoli Squares requires careful attention to avoid common pitfalls while implementing helpful tips ensures delicious results every time. Consider experimenting with flavors and toppings for personalization while maintaining freshness through proper storage techniques after preparation!