Quick Overview
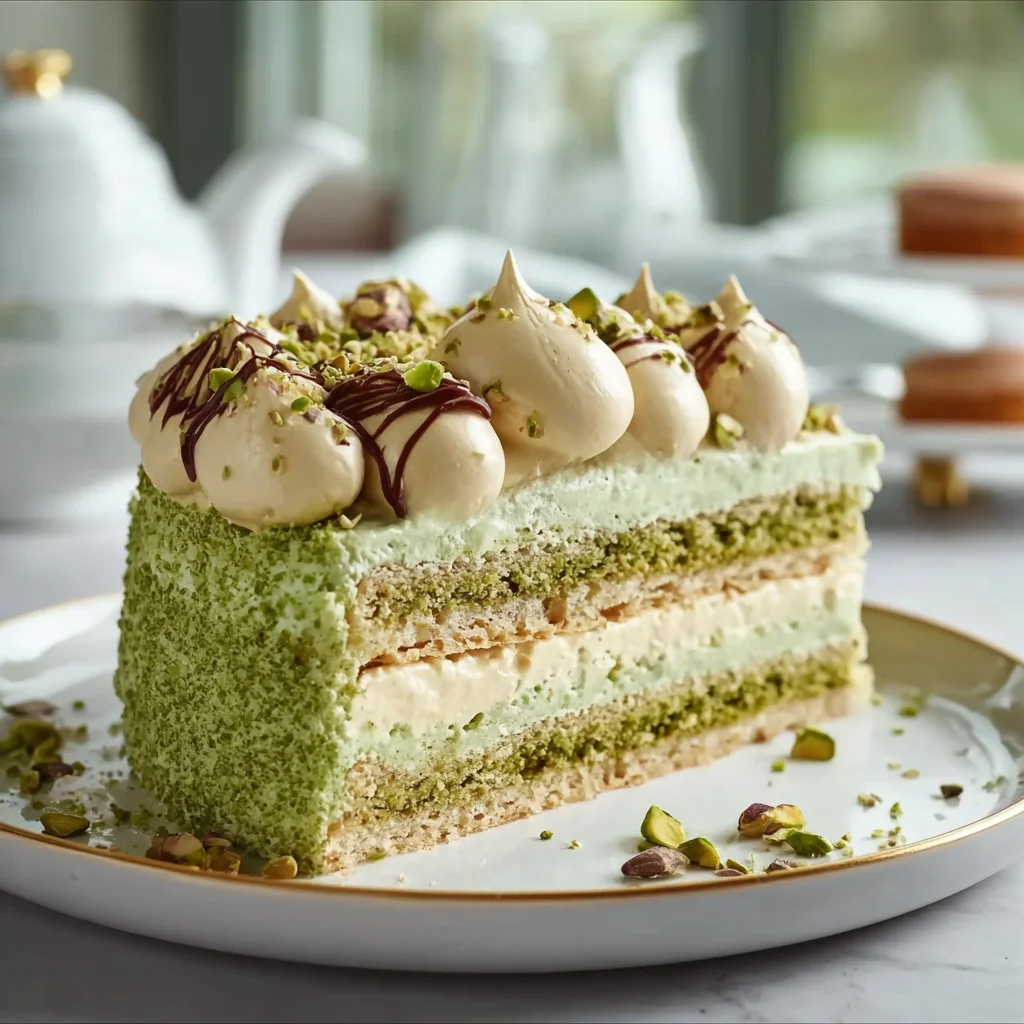
Indulge in the deliciousness of a Pistachio Dacquoise Cake. This delightful treat combines the unique flavors of pistachios with a light and airy texture. Perfect for celebrations or simply as a sweet indulgence, this cake is sure to impress your guests. The rich nuttiness of the pistachios paired with layers of delicate meringue makes it a showstopper at any gathering. Let’s dive into this fantastic recipe that not only tastes amazing but also looks stunning.
Ingredient Breakdown
Pistachios
Pistachios are the star ingredient in this cake. They provide a natural sweetness and a lovely green hue. For this recipe, you’ll need 200 grams of shelled pistachios. Ensure they are finely ground for an even texture in your cake layers.
Egg Whites
Egg whites create the light structure of the dacquoise. You will require 6 large egg whites for this recipe. Be sure to separate them carefully to avoid any yolk contamination which can prevent proper whipping.
Sugar
Granulated sugar helps to stabilize the egg whites while adding sweetness. Use 250 grams for both the dacquoise layers and the buttercream filling. It dissolves easily and provides the necessary sweetness without overpowering the nutty flavor.
Almond Flour
Almond flour is used to give additional flavor and texture to the cake layers. You will need 100 grams of almond flour to complement the pistachios perfectly.
Butter
Unsalted butter adds richness to the buttercream filling. For this recipe, use 150 grams of softened unsalted butter to achieve that creamy consistency that binds everything together.
Heavy Cream
Heavy cream is essential for making a rich buttercream frosting. You will need 200 ml of heavy cream whipped until fluffy. This will enhance the overall texture and mouthfeel of your cake.
Step By Step Recipe: Pistachio Dacquoise Cake
Step 1: Prepare Your Oven and Pans
Preheat your oven to 160°C (320°F) and line two baking sheets with parchment paper. Draw two circles on each sheet using a pencil; these should be about 8 inches in diameter. This preparation will ensure that your dacquoise layers bake evenly.
Step 2: Make the Nut Mixture
In a food processor, combine the finely ground pistachios and almond flour with half of the granulated sugar (125 grams). Pulse them together until well mixed. This mixture creates a delicious nutty base for your cake layers.
Step 3: Whip Egg Whites
In a clean bowl, whip the egg whites with an electric mixer until soft peaks form. Gradually add in the remaining sugar while continuing to beat until stiff peaks form. This step is crucial for achieving that light and airy texture characteristic of dacquoise.
Step 4: Fold Ingredients Together
Gently fold in the nut mixture into the whipped egg whites using a spatula. Be careful not to deflate your egg whites; this folding technique ensures your dacquoise remains light while incorporating all ingredients evenly.
Step 5: Pipe Layers onto Baking Sheets
Transfer your batter into a piping bag fitted with a round tip. Pipe circles onto your prepared baking sheets following your drawn outline. Aim for even thickness so each layer bakes evenly and has consistent texture throughout.
Step 6: Bake Layers
Bake each sheet in your preheated oven for about 25-30 minutes until lightly golden brown on top and firm to touch. Once done, remove from oven and let cool completely on wire racks before handling them further.
Step 7: Prepare Buttercream Frosting
While your layers cool, make the buttercream by beating softened butter until creamy in texture. Gradually add whipped heavy cream while mixing at low speed until smooth and fluffy; this will take about five minutes.
Step 8: Assemble Your Cake
Once cooled completely, place one layer on your serving plate and spread an even layer of buttercream over it before placing another layer on top. Repeat this process until all layers are stacked with frosting between them.
Step 9: Decorate Your Cake
To finish off your Pistachio Dacquoise Cake, spread more buttercream around the sides and top as desired. You may also garnish with chopped pistachios or edible flowers for an elegant presentation that enhances its visual appeal.
Serving and Storing Tips
Serving Suggestions
Slice your Pistachio Dacquoise Cake into generous pieces before serving it at room temperature or slightly chilled from refrigeration. Pair it with fresh berries or coffee for an enjoyable dessert experience that complements its flavors beautifully.
Storage Guidelines
Store any leftover pieces tightly wrapped in plastic wrap or placed in an airtight container in the fridge for up to three days. The beauty of this cake is that it retains its moisture well when stored properly without losing its delightful texture over time.
Mistakes to avoid
When baking a Pistachio Dacquoise Cake, one common mistake is not measuring ingredients accurately. Precise measurements are vital for the success of meringue and cake layers. Always use a kitchen scale to weigh your ingredients, especially the nuts and sugar. Another mistake involves overmixing the batter once you add the dry ingredients. This can lead to a dense texture instead of the light, airy consistency desired in a dacquoise. Lastly, avoid opening the oven door too frequently while baking; this can cause temperature fluctuations and affect the cake’s rise.
Another critical error is not allowing your meringue to cool properly before assembly. If you layer while still warm, it may melt any fillings or toppings you’ve added. Additionally, some bakers overlook the importance of using fresh pistachios. Old or stale nuts can adversely impact flavor and texture. Finally, don’t skip resting your completed cake in the fridge for at least an hour before serving. This allows flavors to meld and improves overall taste.

Tips and tricks
To achieve the perfect Pistachio Dacquoise Cake, start with high-quality pistachios. Freshly ground nuts provide superior flavor and aroma compared to pre-ground options. Toasting them lightly before grinding enhances their nuttiness and adds depth to your cake layers. When preparing your meringue, ensure that your mixing bowl is completely clean and free from any grease or moisture; even a small amount can prevent proper whipping.
Another tip involves patience when folding in ingredients. Gently incorporate the dry mix into your egg whites without deflating them too much; this preserves air bubbles essential for lift. Use a spatula rather than a whisk for best results during this process. For added flavor complexity, consider infusing whipped cream with vanilla or almond extract before layering it in your cake.
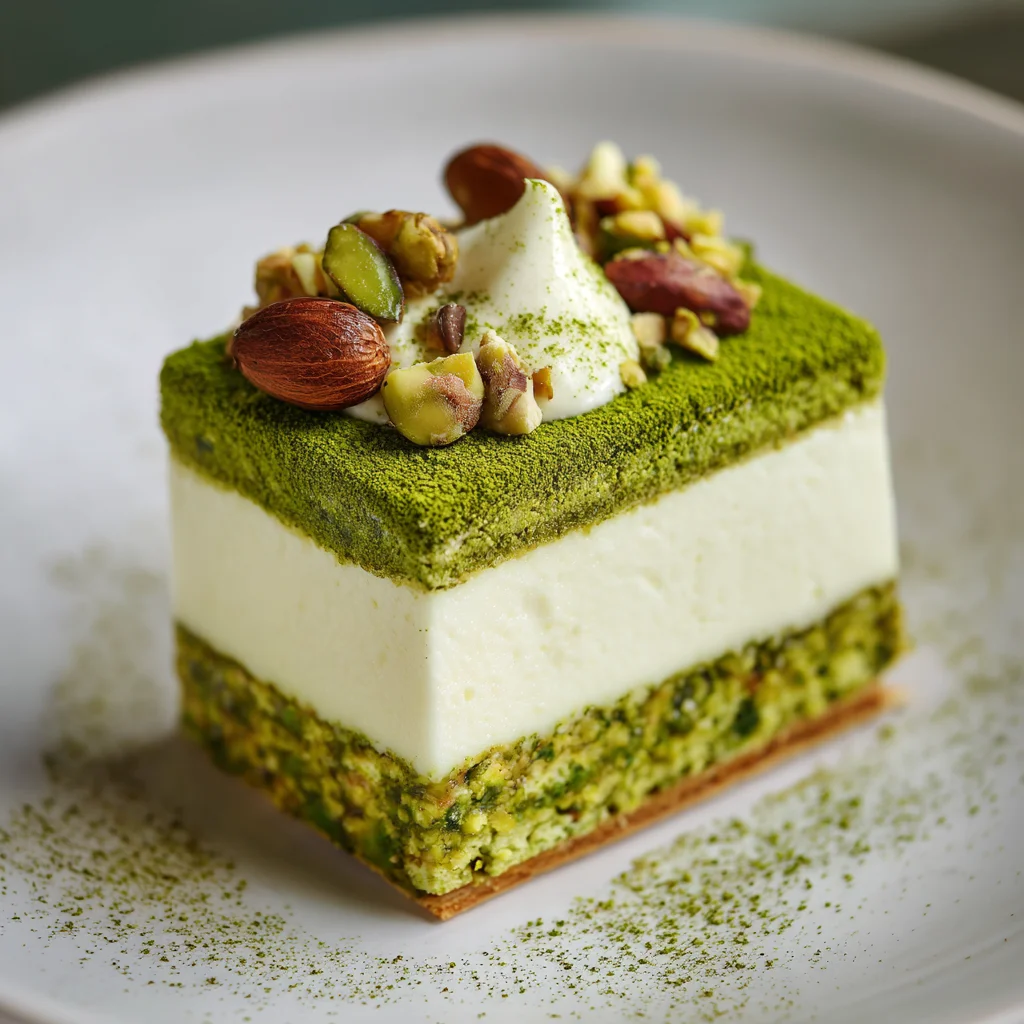
Presentation matters, so consider garnishing with crushed pistachios or edible flowers for visual appeal. Finally, serve with a side of fruit coulis or citrus zest to balance the richness of the cake; this combination creates an elegant dessert experience.
Suggestions for Pistachio Dacquoise Cake
For an interesting twist on your Pistachio Dacquoise Cake, try adding layers of chocolate ganache between the dacquoise layers. The rich chocolate complements the nutty flavor beautifully and provides a decadent touch that elevates each bite. Alternatively, incorporating fresh berries into your filling adds a refreshing contrast that cuts through the sweetness.
Another suggestion is to experiment with different frostings or fillings based on personal preferences. A mascarpone cream or lemon curd could brighten up flavors while maintaining a creamy texture that pairs well with pistachios. For those who enjoy textures, consider layering in some crispy praline shards made from caramelized sugar and crushed nuts.
Finally, don’t hesitate to adjust sweetness levels according to taste by reducing sugar in either the cake layers or cream filling slightly for a more balanced dessert experience.
FAQs
What should I serve with Pistachio Dacquoise Cake?
Pistachio Dacquoise Cake pairs wonderfully with whipped cream infused with vanilla or almond extract for added flavor depth. Fresh fruits like raspberries or strawberries complement its richness beautifully. A drizzle of fruit coulis can also enhance presentation while providing tartness that balances sweetness.
How do I store leftover Pistachio Dacquoise Cake?
To keep leftover Pistachio Dacquoise Cake fresh, wrap it tightly in plastic wrap or store it in an airtight container in the refrigerator for up to three days. If you need longer storage, consider freezing individual slices wrapped securely; this maintains quality for several weeks.
Can I make Pistachio Dacquoise Cake ahead of time?
Yes! You can prepare components of your Pistachio Dacquoise Cake ahead of time. Bake dacquoise layers one day prior and store them properly at room temperature until assembly time. Whipped cream can also be made in advance; just re-whip gently if it loses volume before using.
What type of pistachios should I use?
Opt for high-quality shelled pistachios when making your cake; unsalted ones work best as they allow natural flavors to shine through without overpowering sweetness. Freshly roasted pistachios have better flavor compared to older varieties found on store shelves.
Can I substitute other nuts in this recipe?
While traditional recipes call for pistachios due to their distinct taste, you can experiment with other nuts such as almonds or hazelnuts if desired. Keep in mind that this will change both flavor profile and texture significantly from classic versions.
Why did my meringue collapse?
A collapsing meringue often results from several factors: improper egg white whipping (not reaching stiff peaks), contamination by fat or yolk during separation, or introducing moisture during baking by opening doors prematurely—each plays a role in ruining desired stability.
Summary
In summary, creating a delightful Pistachio Dacquoise Cake requires attention to detail concerning ingredient measurements and mixing techniques. Avoid common mistakes like overmixing and neglecting freshness of ingredients for best results. Use tips about flavors and presentations creatively while considering storage options for leftovers too! Embrace variations as you master this elegant dessert that impresses everyone at gatherings!