Quick Overview
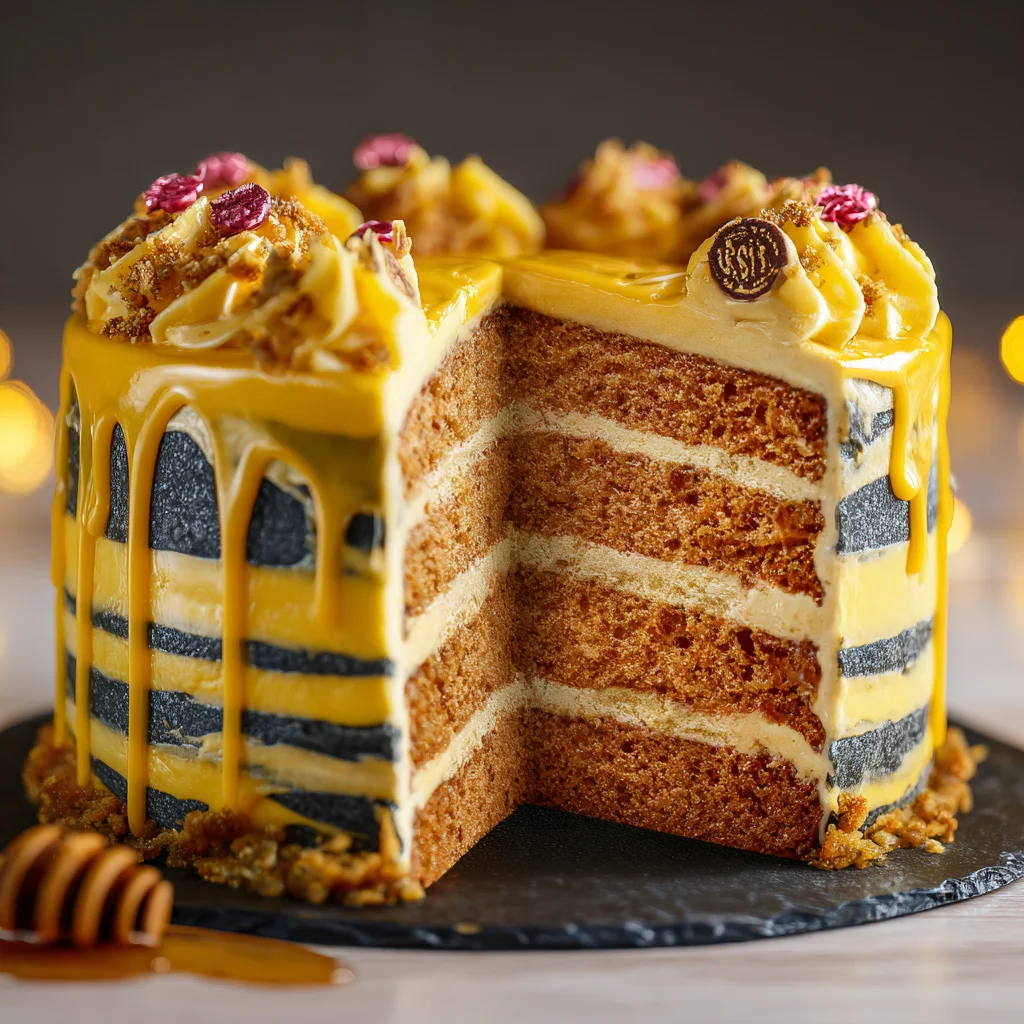
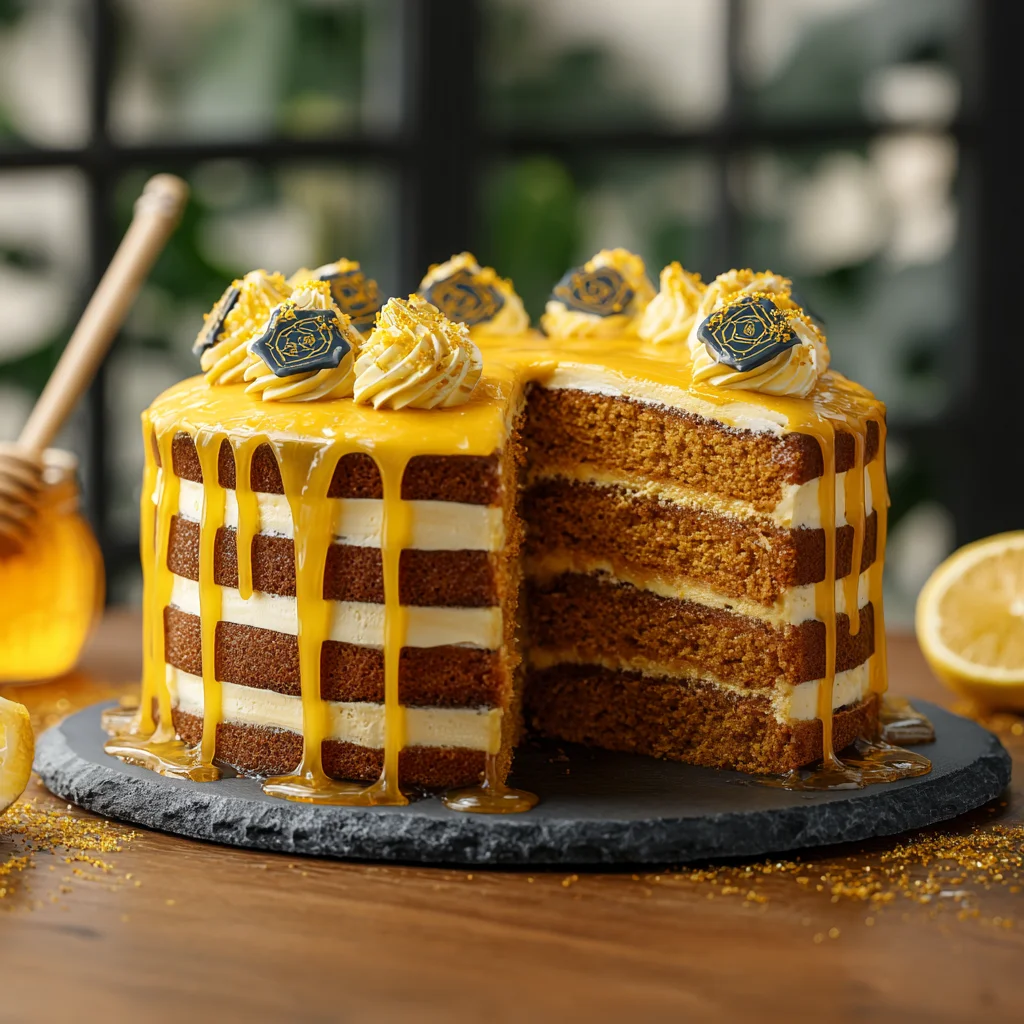
Welcome to the magical world of baking with this Homemade Hufflepuff’s Layer Cake recipe. Inspired by the beloved house of loyalty and hard work from the Harry Potter series, this cake is a treat that will delight both fans and food lovers alike. With its fluffy layers and rich flavors, it’s perfect for any celebration or simply as a sweet indulgence. Get ready to create a masterpiece that reflects the warmth and charm of Hufflepuff!
Ingredient Breakdown
Flour
For this recipe, you will need 3 cups of all-purpose flour. This forms the base of your cake, providing structure and texture. The gluten in the flour helps the cake rise beautifully as it bakes.
Sugar
You will use 2 cups of granulated sugar in this recipe. Sugar not only adds sweetness but also contributes to the moisture and tenderness of your layers, making them soft and delectable.
Baking Powder
Add 1 tablespoon of baking powder to help your layers rise. This leavening agent creates air pockets within the batter, ensuring that your cake is light and fluffy after baking.
Salt
Incorporate 1 teaspoon of salt into your mix. While it may seem small, salt enhances the overall flavor profile of your cake by balancing sweetness.
Eggs
You will need 4 large eggs for this recipe. Eggs act as binding agents while adding richness and moisture to your batter. They also help with leavening when whipped properly.
Milk
Use 1 cup of whole milk to achieve a moist batter. Milk hydrates the dry ingredients while adding creaminess to the overall flavor of your cake.
Vanilla Extract
A teaspoon of pure vanilla extract enhances flavor in your batter. Vanilla adds warmth and depth to baked goods making each bite irresistible.
Butter
For richness, you’ll need 1 cup (2 sticks) unsalted butter at room temperature. Butter provides moisture and contributes to a tender crumb in your layers.
Step By Step Recipe: Homemade Hufflepuff’s Layer Cake
Prepare Your Oven and Pans
Start by preheating your oven to 350°F (175°C). While it heats up, prepare three 9-inch round cake pans by greasing them with butter or non-stick spray. Dust them lightly with flour to ensure that the cakes release easily after baking.
Mix Dry Ingredients
In a large mixing bowl, whisk together the flour, sugar, baking powder, and salt until well combined. This ensures that all dry ingredients are evenly distributed before you add any wet components.
Cream Butter and Sugar
In another bowl, beat together softened butter and sugar until light and fluffy using an electric mixer on medium speed for about 3-5 minutes. This process incorporates air into the mixture which helps create a lighter texture in your final cake.
Add Eggs One at a Time
Add eggs one at a time into the butter mixture while mixing on low speed until fully combined after each addition. This allows each egg to emulsify properly into the batter without forming lumps.
Incorporate Dry Ingredients and Milk
Gradually alternate adding dry ingredients with milk into the butter-egg mixture. Start with about one-third of dry ingredients followed by half of the milk; repeat until everything is added. Mix until just combined; overmixing can lead to tough layers.
Bake Your Layers
Divide batter evenly among prepared pans. Smooth out tops using a spatula if needed then place in preheated oven. Bake for 25-30 minutes or until toothpick inserted comes out clean from center of cakes.
Cool Layers Completely
Once baked, remove from oven and let cool in pans for about 10 minutes before transferring onto wire racks to cool completely. This step is crucial as frosting a warm cake can cause it to melt.
Prepare Frosting
While waiting for cakes cooling down make frosting by beating together unsalted butter with powdered sugar until fluffy then add vanilla extract along with milk gradually until desired consistency is achieved for easy spreading.
Assemble Your Cake
Once layers are completely cool, place one layer on a serving plate; spread an even layer of frosting on top then repeat stacking additional layers while adding frosting between each layer for balance throughout construction.

Serving and Storing Tips
Serve Fresh
Slice your Homemade Hufflepuff’s Layer Cake into generous pieces when serving fresh at room temperature or slightly chilled; this enhances its flavor profile making every bite enjoyable!
Refrigerate Leftovers
If there are leftovers after serving guests store slices in an airtight container placed inside refrigerator where they can last up to four days without losing taste or texture too much over time!
Freeze for Later
To prolong enjoyment beyond few days consider freezing un-frosted layers individually wrapped securely in plastic wrap followed by aluminum foil; defrost overnight before frosting when ready again indulging sweet magic!
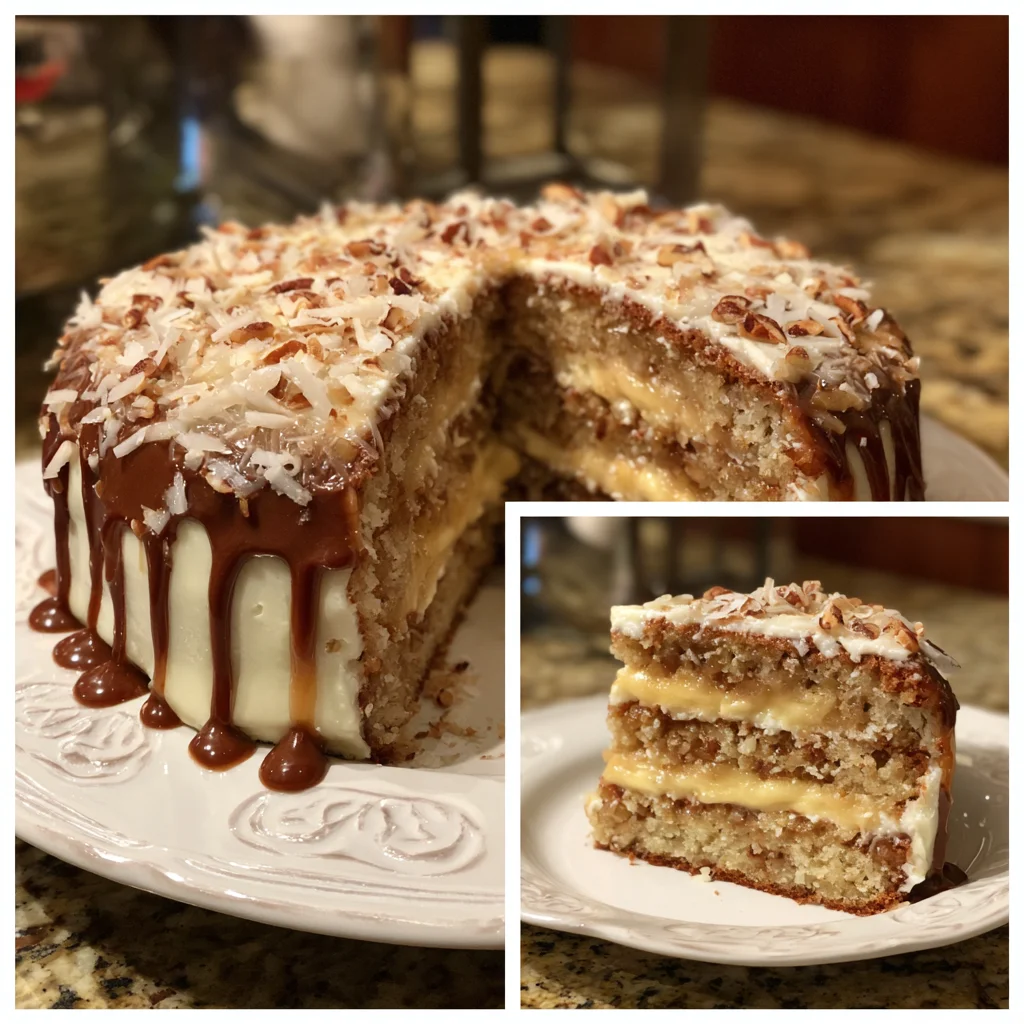
This delightful Homemade Hufflepuff’s Layer Cake not only satisfies cravings but also brings joy reminiscent of magical moments shared among friends! Enjoy every slice!
Mistakes to avoid
One common mistake when making Homemade Hufflepuff’s Layer Cake is overmixing the batter. This leads to a dense cake rather than a light and airy texture. Mix just until the ingredients are combined, and you will achieve that perfect fluffiness.
Another mistake is underbaking the cake layers. Always check for doneness by inserting a toothpick into the center; it should come out clean or with a few crumbs attached. Undercooked layers can collapse when cooling, ruining your beautiful cake.
Failing to level your cake layers is another issue. If your cakes are uneven, stacking them becomes difficult and may lead to a lopsided final product. Use a serrated knife to trim any domed tops of the cakes for even layering.
A common error is ignoring ingredient temperatures. Cold ingredients can result in an uneven batter consistency and affect how well the cake rises. Make sure your eggs and butter are at room temperature for better results.
Lastly, neglecting to properly grease and flour your pans can cause sticking, making it challenging to remove your layers intact. Always prepare your pans thoroughly to ensure smooth removal after baking.
Tips and tricks
To create the best Homemade Hufflepuff’s Layer Cake, start with high-quality ingredients. Using fresh butter, eggs, and vanilla extract significantly enhances flavor. Quality matters; always choose organic or local options if available.
Measure your ingredients accurately using a kitchen scale for precision. Baking is a science, so even slight deviations can impact texture and flavor. Use separate measuring cups for dry and liquid ingredients to minimize cross-contamination of flavors.
When it comes to frosting, consider chilling your cake layers before applying frosting. This helps firm up the cake, making it easier to frost without crumbling. A crumb coat—a thin layer of frosting applied first—can trap crumbs and provide a smooth finish for subsequent layers.
Experiment with flavor variations by adding spices or extracts like cinnamon or almond for added depth in your Homemade Hufflepuff’s Layer Cake. Adjusting flavors allows you to create a unique twist on this classic recipe that suits your taste.
Lastly, take your time when decorating the cake. Use an offset spatula or bench scraper for smoothing frosting between layers and on top of the cake. Patience during decoration ensures that you achieve that polished look worthy of display.
Suggestions for Homemade Hufflepuff’s Layer Cake
Consider adding a layer of homemade caramel sauce between the cake layers for extra richness and flavor in your Homemade Hufflepuff’s Layer Cake. The sweetness complements the buttery cake beautifully while providing moisture.
Using different types of flours can enhance texture too; try incorporating almond flour or whole wheat flour into your recipe for added depth and nutrition without compromising taste.
To make this dessert even more festive, decorate with edible flowers or colorful sprinkles that match the theme of any celebration you might have in mind. This adds visual appeal alongside delightful flavors.
Pair each slice with freshly brewed tea or coffee to complement the flavors of your layer cake perfectly. The warmth from these beverages enhances taste while providing an aromatic experience with every bite.
Finally, consider freezing any leftover slices in an airtight container if you have excess after serving guests! Individual portions can be thawed quickly later on for a nostalgic treat whenever you crave something sweet.
FAQs
What makes Homemade Hufflepuff’s Layer Cake unique?
Homemade Hufflepuff’s Layer Cake stands out due to its comforting flavors inspired by traditional recipes associated with warmth and community spirit. Its moist texture layered with rich frosting creates an inviting dessert perfect for gatherings or special occasions.
Can I make Homemade Hufflepuff’s Layer Cake gluten-free?
Absolutely! Substitute all-purpose flour with gluten-free flour blends specifically designed for baking cakes. Ensure other ingredients like baking powder are also gluten-free to maintain quality while catering to gluten-sensitive individuals in your circle.
How long does Homemade Hufflepuff’s Layer Cake last?
When stored properly in an airtight container at room temperature, Homemade Hufflepuff’s Layer Cake remains fresh for about three days. For longer storage, place it in the refrigerator where it will last up to one week without losing its delightful taste.
Is there an alternative frosting I can use?
Certainly! If you’re looking for alternatives beyond traditional buttercream frosting, cream cheese frosting offers tangy sweetness that pairs wonderfully with this layer cake’s rich flavors. Whipped cream or ganache are also excellent choices depending on personal preference!
Can I add fruit fillings between layers?
Yes! Fresh fruit fillings such as strawberries or raspberries work great between layers of Homemade Hufflepuff’s Layer Cake. They add natural sweetness while balancing richness from frosting; just ensure they are well-drained to prevent sogginess.
What tools do I need to bake this cake successfully?
To bake Homemade Hufflepuff’s Layer Cake successfully, essential tools include mixing bowls, measuring cups/spoons, electric mixer (or whisk), spatula/bench scraper, serrated knife (for leveling), and round cake pans—preferably non-stick—for easy removal after baking!
Summary
In summary, creating a delicious Homemade Hufflepuff’s Layer Cake requires attention to detail from ingredient selection through baking techniques. Avoid common mistakes like overmixing or underbaking while implementing helpful tips such as chilling layers before frosting them properly! By following suggestions around flavor enhancements and proper storage methods post-baking ensures satisfaction every time you indulge in this delightful treat.