Quick Overview
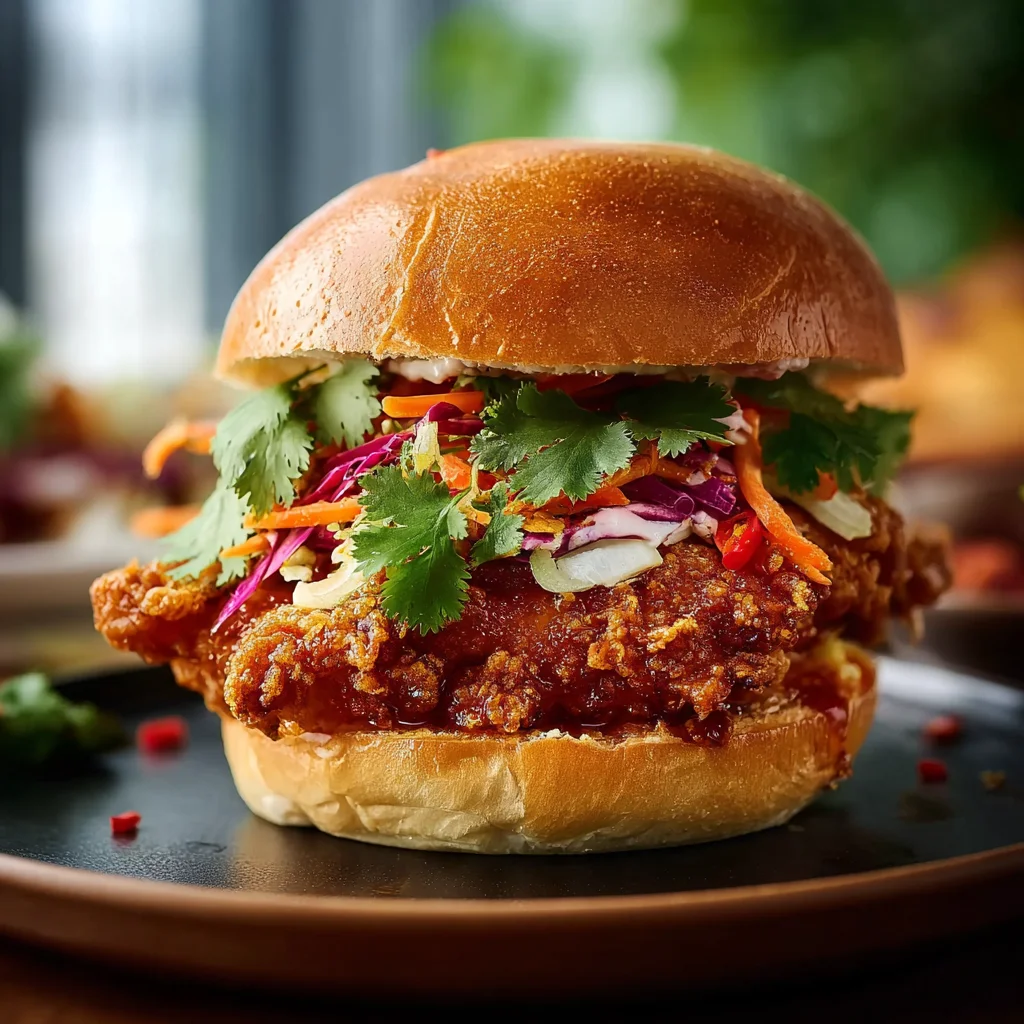
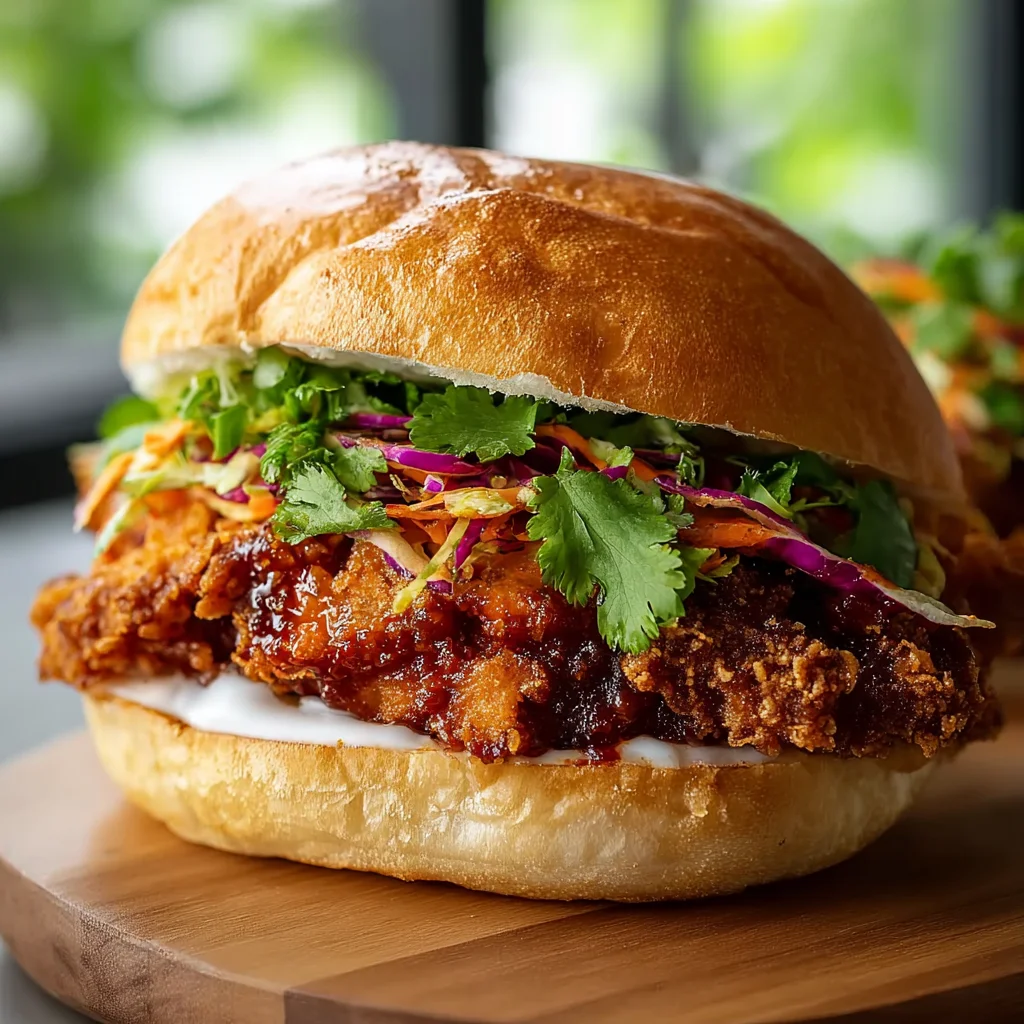
Are you craving a burst of flavor in your meal? The Thai Fried Chicken Sandwich is the answer. This delightful dish combines crispy fried chicken with vibrant Thai flavors that will tantalize your taste buds. From the juicy chicken to the tangy sauce, every bite offers an explosion of taste that is hard to resist. Whether you’re preparing lunch for yourself or hosting a gathering, this sandwich will surely impress everyone at the table.
Ingredient Breakdown
Chicken Thighs
For this recipe, use about 1 pound of boneless, skinless chicken thighs. They provide more moisture and flavor than chicken breasts, making them perfect for frying.
Buttermilk
You will need 1 cup of buttermilk to marinate the chicken. The acidity in buttermilk tenderizes the meat while adding a slight tanginess that complements the spices.
All-Purpose Flour
Prepare 1 cup of all-purpose flour for coating the chicken. This flour creates a crispy outer layer when fried and helps hold on to the seasoning.
Cornstarch
Add 1/4 cup of cornstarch to enhance crispiness in your batter. This ingredient absorbs moisture and results in an extra crunchy texture.
Spices
Combine 2 teaspoons each of garlic powder and paprika. These spices infuse the chicken with rich flavors that elevate the overall taste experience.
Salt and Pepper
Use salt and black pepper to season the flour mixture. Approximately 1 teaspoon of each should suffice to enhance flavor without overpowering it.
Hamburger Buns
Choose four soft hamburger buns to serve your sandwiches. These buns will hold all the delicious fillings while providing a comforting base.
Cabbage Slaw
Prepare 2 cups of shredded cabbage for topping your sandwich. The crunchiness adds texture while balancing the richness of the fried chicken.
Sriracha Sauce
You’ll need 1/4 cup of Sriracha sauce to drizzle over your sandwich. This spicy sauce brings heat and depth to each bite.
Step By Step Recipe: Thai Fried Chicken Sandwich
Step One: Marinate Chicken
Start by marinating the chicken thighs in buttermilk for at least one hour, or overnight if possible. This will ensure that the chicken remains moist and flavorful when cooked. The longer you marinate, the better!
Step Two: Prepare Flour Mixture
In a large bowl, combine all-purpose flour, cornstarch, garlic powder, paprika, salt, and pepper. Mix well until all ingredients are evenly distributed. This seasoned flour will coat your chicken beautifully and add that crispy texture we desire.
Step Three: Coat Chicken
Remove each thigh from buttermilk and allow excess liquid to drip off. Dredge each piece in the flour mixture until fully coated. Ensure an even coating so every bite is packed with flavor and crunch.
Step Four: Heat Oil for Frying
In a deep skillet or heavy-bottomed pot, heat about 2 inches of oil over medium-high heat until it reaches 350°F (175°C). Use a thermometer to accurately monitor oil temperature; this ensures perfectly fried chicken without being greasy.
Step Five: Fry Chicken
Carefully place coated chicken thighs into hot oil one at a time. Fry for about 6-8 minutes per side or until golden brown and cooked through (internal temperature should reach 165°F (74°C)). Don’t overcrowd the pan; fry in batches if necessary.
Step Six: Drain Excess Oil
Once cooked, remove the fried chicken from oil using tongs and place them on paper towels to absorb excess oil. This step keeps your sandwich from becoming soggy and maintains that desired crunchiness.
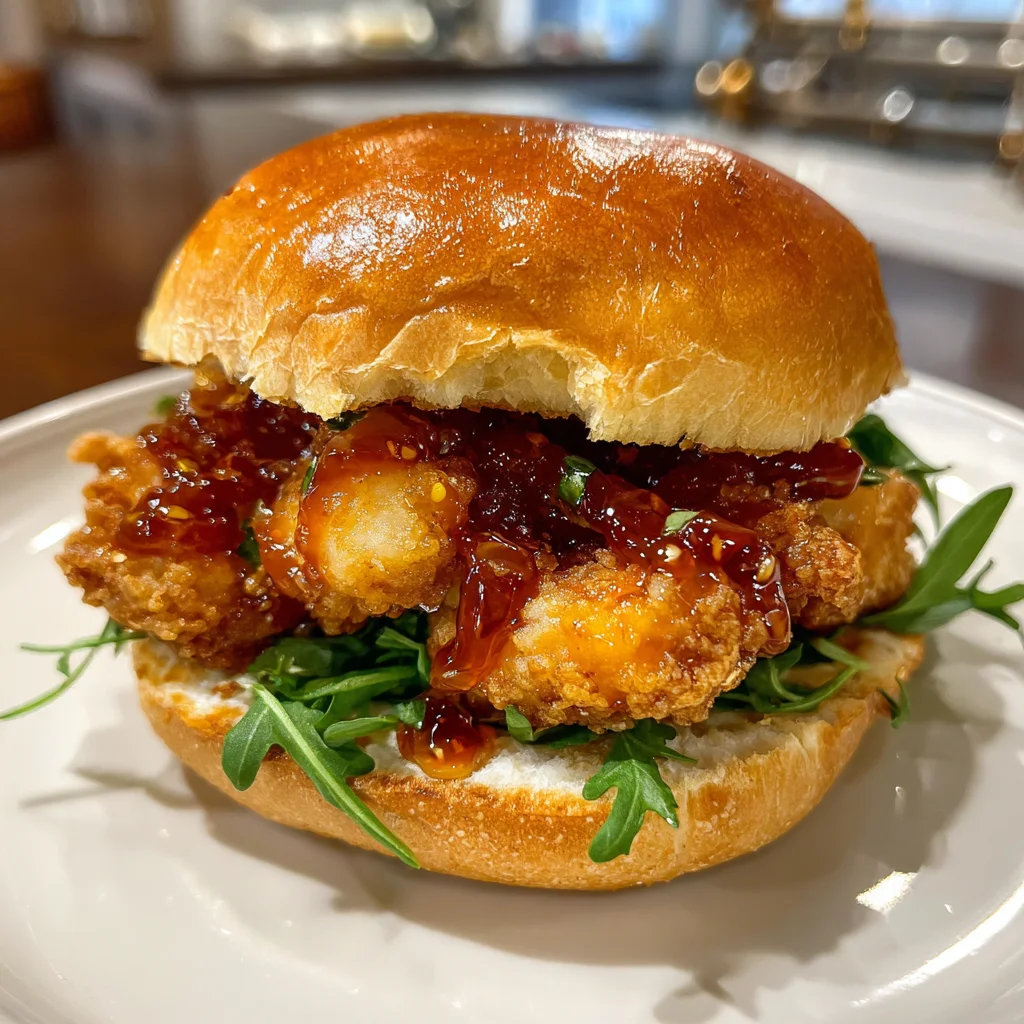
Step Seven: Assemble Sandwiches
Slice open each hamburger bun and place a piece of fried chicken inside. Top with shredded cabbage slaw for added crunchiness. Drizzle Sriracha sauce generously over everything before closing up your sandwiches.

Serving and Storing Tips
Serving Suggestion
Serve these sandwiches immediately after assembling for optimal freshness. Pair them with fries or a side salad for a complete meal that everyone will enjoy! Feel free to adjust spice levels based on personal preference by adding more or less Sriracha sauce.
Storage Guidelines
If you have leftovers, store assembled sandwiches in an airtight container in the refrigerator for up to two days. To reheat properly without losing crispness, consider placing them in an oven instead of microwaving them; this helps retain that wonderful crunch you worked so hard to achieve!
Mistakes to avoid
One common mistake when making a Thai Fried Chicken Sandwich is using the wrong type of chicken. Opting for chicken breasts may lead to dryness, so always choose thighs for juiciness and flavor. Ensure you maintain the correct marinating time; too short won’t infuse enough flavor, while too long can make the meat mushy. Another frequent error is neglecting the bread choice. A sturdy, crusty bun can hold up against the sauce and toppings better than a soft hamburger bun. Lastly, don’t skip on garnishes like cilantro or pickled vegetables; they add essential freshness and balance to the sandwich.
Tips and tricks
To create the perfect Thai Fried Chicken Sandwich, start with marinating your chicken in a blend of coconut milk and spices such as garlic, ginger, and turmeric. This combination not only adds depth but also tenderizes the meat. While frying, use a high smoke point oil like peanut or canola oil to achieve that crispy texture without burning. Consider double-frying the chicken for extra crunch; fry it once until golden, let it rest briefly, then fry again until perfectly crispy. When assembling your sandwich, layer with fresh herbs like basil or mint alongside a spicy mayo made from mayonnaise mixed with sriracha for an added kick. Serve with a side of sweet potato fries for a delicious meal.
Suggestions for Thai Fried Chicken Sandwich
For an exciting twist on your Thai Fried Chicken Sandwich, try adding avocado slices for creaminess that balances out the spiciness. You can also incorporate crunchy slaw made with cabbage and carrots tossed in a tangy dressing; this adds texture and enhances flavor. If you’re looking to spice things up further, consider adding jalapeños or a drizzle of chili oil on top of the fried chicken. Alternatively, serve it with a side of homemade dipping sauce using fish sauce blended with lime juice and sugar for an authentic touch. Each suggestion brings new layers of flavor to your dish.
FAQs
What ingredients are essential for a Thai Fried Chicken Sandwich?
The key ingredients include chicken thighs marinated in coconut milk and spices like garlic and ginger. High-quality buns that can hold up against moist fillings are crucial, along with fresh herbs like cilantro and mint for garnishing. Don’t forget about sauces; spicy mayo made from mayonnaise and sriracha adds depth while pickled vegetables provide crunch.
How do I achieve crispy fried chicken?
To get crispy fried chicken, use a two-step frying method: first fry at lower temperatures to cook through, then increase heat for crispiness. Also, coat your chicken in seasoned flour or cornstarch before frying; this helps form that desired crunchy crust. Always ensure your oil is hot enough before adding chicken.
Can I make this sandwich gluten-free?
Yes! To make a gluten-free Thai Fried Chicken Sandwich, simply substitute regular flour with gluten-free flour or cornstarch when coating your chicken. Use gluten-free buns available at most grocery stores or consider lettuce wraps as an alternative if you want to reduce carbs as well.
How can I store leftovers?
Store leftover components separately in airtight containers to maintain freshness. The fried chicken can last 3-4 days in the fridge when properly stored but will lose its crispiness over time. Reheat gently in an oven rather than microwaving to preserve texture.
What sides pair well with this sandwich?
Several sides complement the Thai Fried Chicken Sandwich wonderfully; sweet potato fries offer sweetness that contrasts nicely with spicy flavors while Asian-style slaw provides crunch and freshness. Consider serving it alongside cucumber salad dressed in vinegar for added zing.
Can I bake instead of fry the chicken?
Yes! For a lighter version of the Thai Fried Chicken Sandwich, you can bake the chicken instead of frying it. Coat it with seasoned breadcrumbs or panko for added texture then bake at 400°F until cooked through and golden brown—this method reduces oil usage while still providing great flavor.
Summary
In conclusion, creating a delicious Thai Fried Chicken Sandwich requires attention to detail in both preparation and assembly. Avoid common mistakes such as using improper cuts of meat or neglecting flavors in your marinade. Utilize useful tips like double-frying for extra crispiness and experimenting with various toppings to enhance flavor profiles further. Storing leftovers correctly ensures you get more enjoyment out of this delightful dish while pairing it with complementary sides elevates your meal experience even more.